Abandoned Trail Blog


About
This is a project started to teach myself a few new skills. I recently received a hand me down desktop which is far more powerful than my 2013 laptop that I've been using for the past few years. With a more powerful computer I wanted to try something with higher polygons, better lighting, and 2k textures. However, with wanting this to be console and Pc ready I wasn't willing to sacrifice frames. It was a lot of fun and I learned more about outdoor lighting as well as creating convenient shaders to speed along a process and optimizing a scene for higher frames.
Inspiration
I can start with how I what inspired me to start the project, I originally wanted to create something overgrown, perhaps something that had been taken back by nature over time. My initial thought was to create something post apocalyptic, however I didn't really wanna do something dark and gritty. So instead I opted for something more abandoned to be recaptured by the wilderness in which it was built in. I kept a bike trail in mind for the personal reason of biking through mountains and woods a few summers ago with friends and family, going through a paved trail as well as a few unforgiving unpaved trails. So I started gathering reference of mountain scenes as well as roads left to be re-gathered by the nature surrounding it. The Willow tree placement, although strange, is added as a center piece. A Willow tree is not a mountain dwelling tree, however they will grow in more damp environments which the scene very much is. I thought it would be a solid center piece by making viewers take a longer look at the scene and wonder why this tree is here and how its growing such a strange place.


Blocking out
So when it came to blocking out my scene I wanted to get something in engine to help me visualize as quickly as possible. So I started with assets of my own, as well as using asset packs that can be found in the unreal engine store. Then as the project went on, I would go back and remove the unreal engine assets and replace them with my own as well as bettering some of my own models and texture resolutions.

Modeling
For this project I made roughly 30 assets, the modeling itself wasn't super intensive as I will go into further detail on how i created these organic shapes. The models have texture resolutions of 2048 with a texel density of 5.12 px/cm. The Smaller and farther away assets have a texture resolution that ranges form 1024-512 with texel densities between 2.56-1.28 px/cm. Assets come with LOD's to help increase frame rate.

All assets

LOD 1-3 example

Texel Density use, as well as UV layout
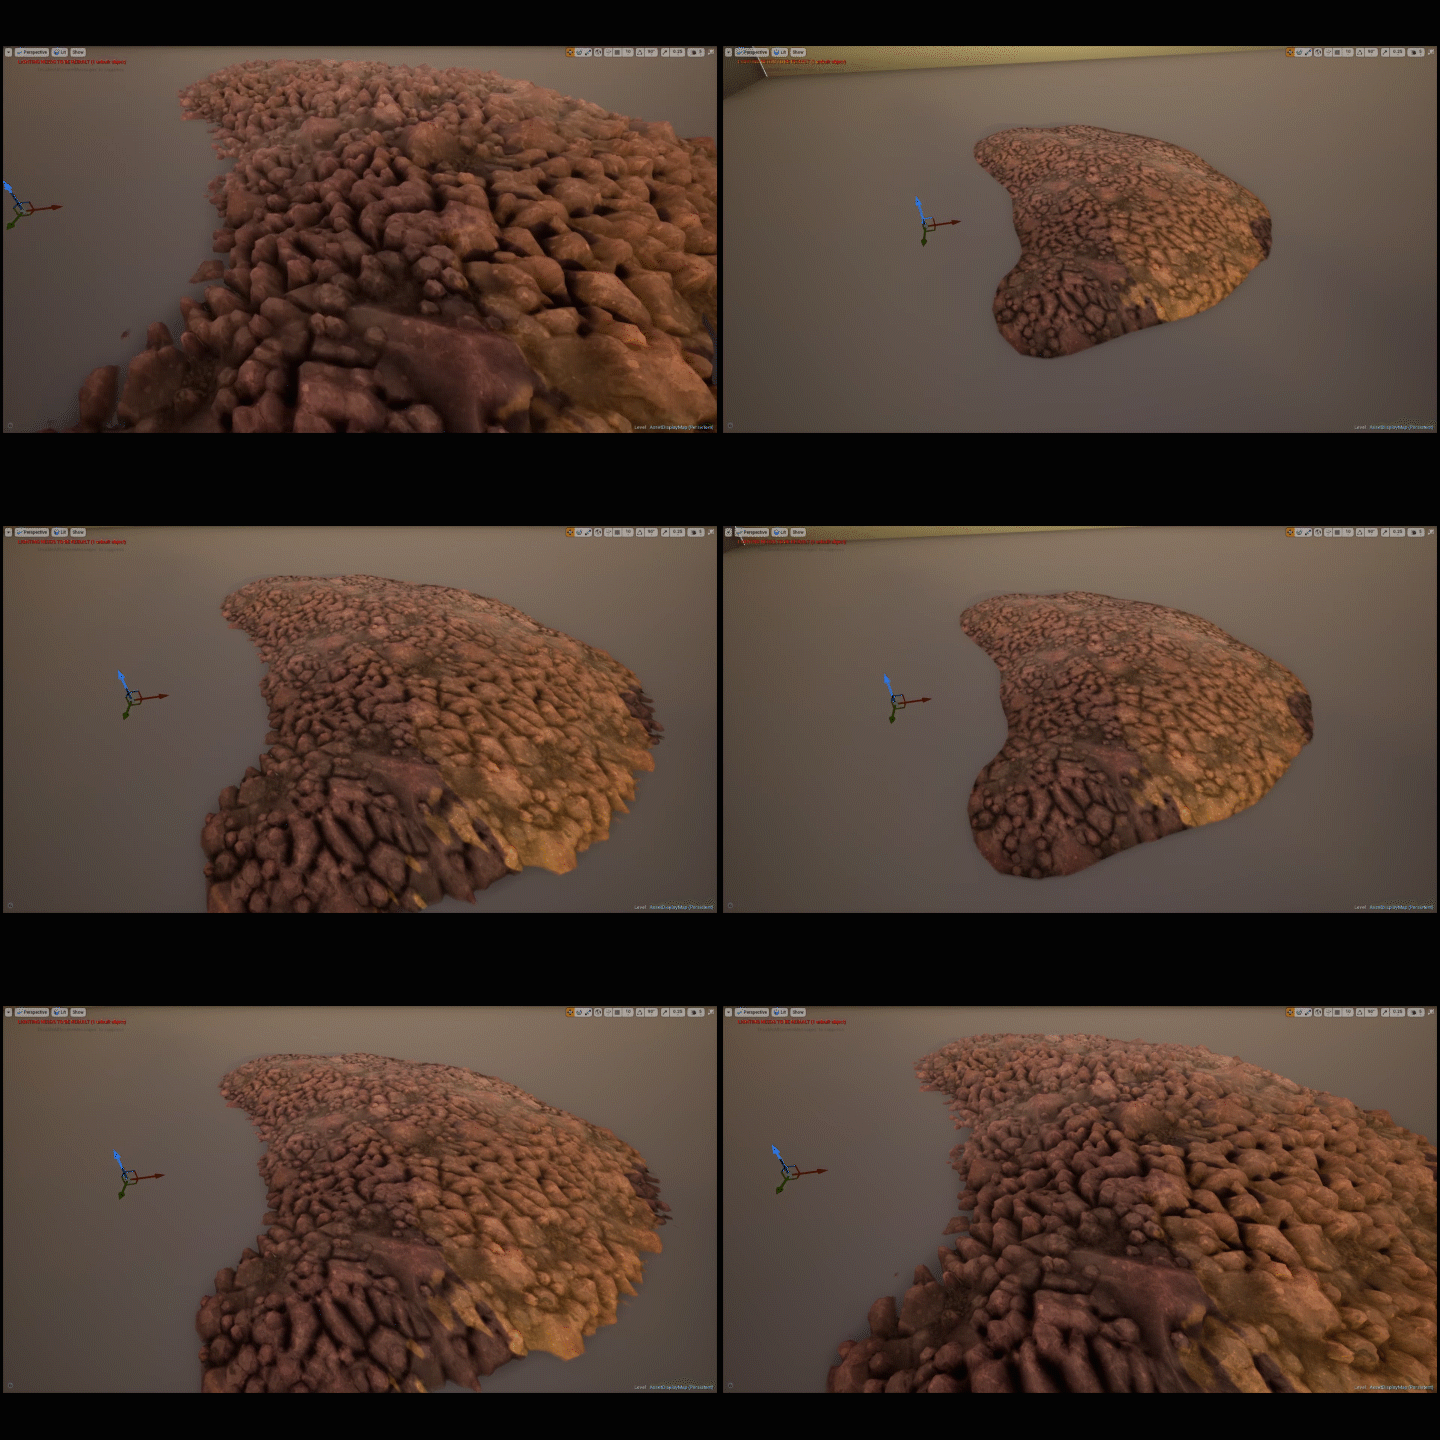
Now I did wanna try something different with this project. Instead of baking high resolution maps from Zbrush sculpts on to lower poly models, as it would get tedious for me, I tried a method I wasn't entirely sure would work but had nice enough results. I started with a simple silhouette sculpt from Zbrush but took it no further from there, I then brought the models into maya and used it's shaders to create higher displacment detail by using height maps to better shape the models.

EX: 1

In Game: 1

EX: 2

In Game: 2
Material Shaders
The material shaders for this project were made for convenience and aesthetic appeal. I wanted to be able to quickly switch out material maps within material instances to get the desired result for my scene. Many of the assets use the same source material depending on what said asset will be; A rock material instance, a foliage one, concrete, moss, mud etc...


One of the first material I did for this scene was done from following a tutorial I found online, It's a grass material created by a Quixel employee that has a very nice rolling effect. I really liked the way the end result looked and wanted to try it out for myself, the video can be found here: https://www.youtube.com/watch?v=8e_p2fljUYA&t=46s.

One problem I was encountering early on with the project was a loss of frames. Messing around with tessellation for ground and wall detail, but as stated before I wanted a decent frame rate and for it to be console ready. I have an NVIDIA GeForce GTX 970 graphics card which can generate a decent frame rate for modern day video games, but the frame rate I was aiming for was 70+. Tessellation on larger assets was eating frames, so for materials using height maps I created a material that uses a tessellation field based off of distance of the camera to the object. This gave me a good increase in frames as now I was only using tessellation on objects that I was in close proximity too.


Material shader used for Tessellation by Distance
For quick variation in rocks I used multiple alpha maps that could be quickly switched out to create a different moss pattern. I made the alpha maps in Photoshop using various brushes to create patterns that I liked.


Simple moss pattern change using alpha maps
Now to get rid of hard edges when blending meshes together I used a Temporal AA Dither node and plugged it into Pixel Depth Offset which can help soften the edges of overlapping models. While it can be a more expensive node to use, there are only used in two material shaders, the moss and the mud. This node really helped with small detail things like having mud seep into chracks in the ground as well as the moss having a more natural growth look to it.

Ex: 1

Ex: 2

Dither TemporalAA node
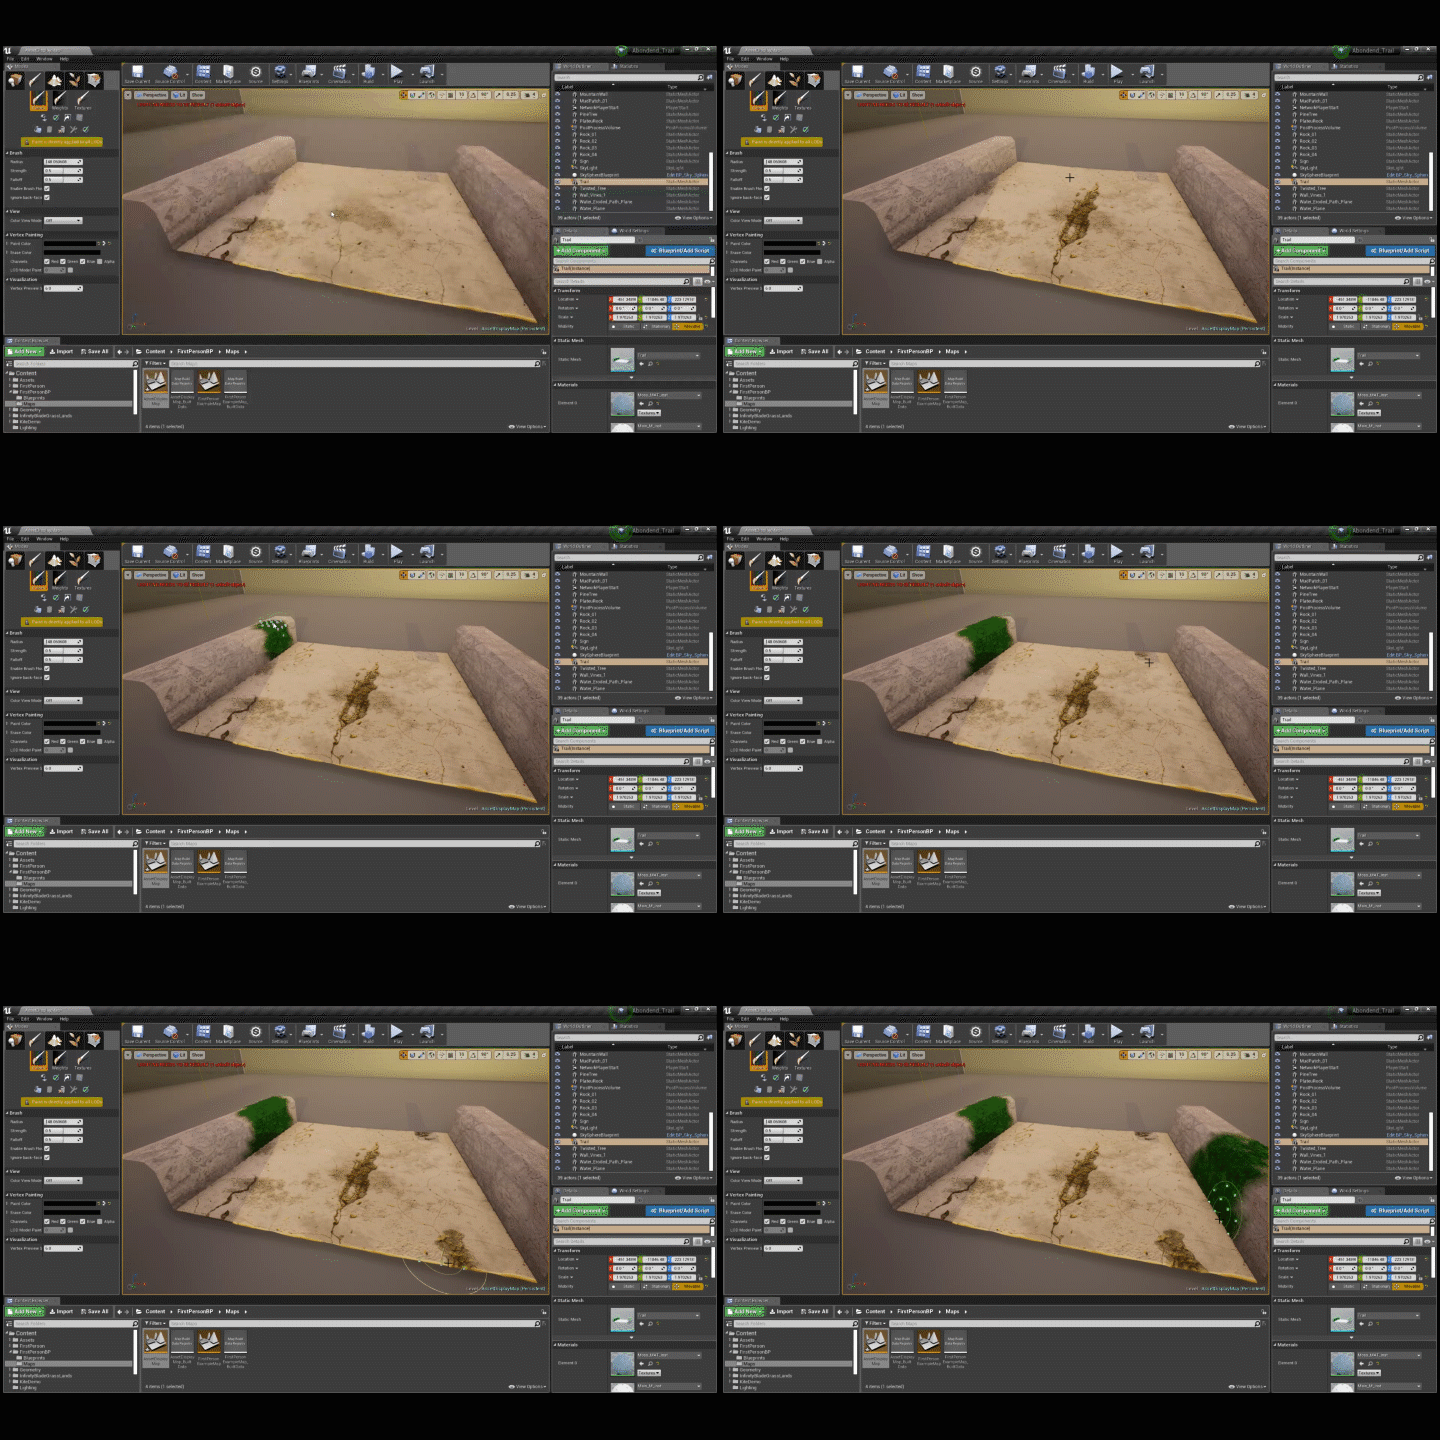
Lastly for the trail itself I used vertex painting to quickly change the look of each section. Each portion of the trail was looking very tiled when I first brought it in. Creating a unique section for every portion of the trail would not have been ideal. So instead I had each section be the same asset with slight variations using vertex painting to break up the modularity.

Vertex Painted Modular Pieces

Lerped Packed Texture
Foliage
For all of the foliage I used free photo textures that can be found on https://www.textures.com/ It's a great open source website with high resolution images. If you don't have a subscription to Quixel Megascans I would recommend this website for a variety of free use textures. The models however were made using a program called "Tree it" again it's a free to use tree generator and is great if you don't have a subscription to Speed Tree. However one tree was modeled for "Tree It" not having the capabilities to create what I had in mind.

"Tree it" Models

Foliage Shot

Modeled Willow Tree
Lighting
The lighting for this scene is quite simple. Light color and shadows are generated from the directional light, the distance fog is generated from a height fog, and the blooming effect is from light shaft occlusion and modifying bloom scale. To receive nice color reflections I used four reflection probes that can be found near the water, tree, and patches of mud. To really understand how lighting with fog worked I watched Unreal Engines live training on Volumetric fog that can be found here: https://www.youtube.com/watch?v=N4mkgbwLg7U. Although no volumetric fog was used in the scene it was still a great in depth look of how to light a foggy scene.

Reflection probe locations
Frame Rate
As stated before, even though I wanted to push this scene with better lighting and a higher poly count than my previous environments I still did not want to sacrifice frame rate. I learned a lot from this project with dynamic and baked lighting as well as light map resolution and optimizing assets. towards the middle of the project I noticed my frame rate was hitting somewhere between 40-55 fps, which isn't acceptable. However by the end of the project I was able to double my frame rate to 84-114 fps. I did this by taking out the dynamic lighting on the assets that don't really need it; (grass, bushes, moss, mud, the trail, etc... ) for some of these assets I opted for baked lighting and for the smaller things closer to the ground like grass, moss, mud, and bushes I had them not cast shadows at all. I went back and added LOD's to just about every asset that wasn't using the Tessellation by Distance method, especially for the ones at such a distance that only the silhouette mattered. By the end of the project my scene looked better and had a much better frame rate.


40-50 fps

84-114 fps
Conclusion
In conclusion this project was great practice when it comes to optimizing scenes. I really enjoyed tweaking the lighting as well as all the material and assets I created for the project. I'm glad the methods I used to bake maps for the rocks and the method for Tessellation by Distance ended up working. I'm happy with the scene as a whole and I hope this breakdown has been informative on how I go about creating scenes. I am still learning and developing my skills, I am currently available for any contract work or junior level job acquisitions,
Thank you.